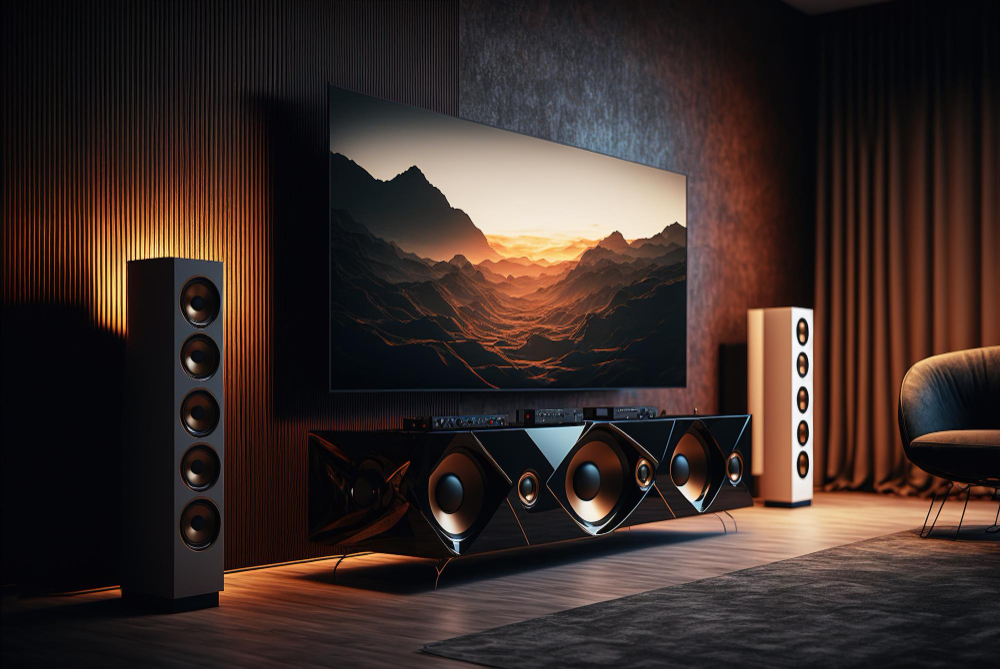
Home Theater Planning: Size, Layout, and Seating

Transforming a room into a home theater is an exciting project for any homeowner. But achieving the perfect cinematic experience takes more than picking up a big screen and some speakers. To truly recreate the magic of the theater at home, careful planning is essential. From choosing the right room size to determining the ideal layout and seating placement, every detail matters.
This guide breaks down the key elements of home theater planning, exploring size, layout, and seating to help you maximize your viewing experience. And if you're considering home theater installation in Central Florida, we’ll show you how you can simplify the process with expert help.
Step 1: Determine the Perfect Room Size
Not all rooms were created equal when it comes to building a home theater. The size and shape of the room play a major role in acoustics, visual experience, and comfort.
Room Dimensions and Acoustics
A rectangular room is the best choice for a home theater because it allows sound to travel more consistently compared to square or irregularly shaped rooms. Aim for a space with dimensions that avoid “standing waves,” or sound reflections that can distort audio. Ideally, the room should have a high ceiling (around 8-10 feet) for optimal sound distribution.
Pro Tip: Avoid large windows, as they can both reflect sound and add unwanted glare to your screen. If windows are unavoidable, use heavy curtains or acoustic panels to block reflective surfaces.
Choosing the Right Room Size
When planning your home theater:
- Small rooms (10’ x 12’): Ideal for more compact setups with a 55-65 inch screen at its heart.
- Medium rooms (12’ x 15’): Accommodates larger screens (up to 85 inches) and surround sound systems.
- Large rooms (over 15’ x 20’): Perfect for dedicated home theaters with widescreen projectors and advanced audio setups like Dolby Atmos.
If you're unsure about your space’s suitability, get advice from professionals in home theater installation in Central Florida who can assess your room and recommend adjustments.
Step 2: Plan the Room Layout
The layout of your home theater directly influences both sound and visuals. A well-planned layout ensures every seat in the house delivers a great viewing and listening experience.
Screen Placement
Your screen is the focal point of your theater, and its placement is crucial.
- Height: The center of the screen should be eye level when seated. For projector screens, ensure the bottom edge of the screen is at least 24 inches above the ground.
- Distance: The optimum viewing distance depends on screen size. The rule of thumb is 1.5 to 2.5 times the screen's diagonal size. For example:
- 70-inch screen = 8.75 to 14.5 feet viewing distance
- 100-inch screen = 12.5 to 20 feet viewing distance
Speaker Placement
For a well-balanced surround sound system:
- Place front speakers (left, right, and center) at ear level, directly facing the audience.
- Position rear speakers slightly above ear level, behind and to the sides of the seating area.
- If using ceiling speakers for Dolby Atmos, consult with an expert to angle them correctly for immersive sound.
Lighting Considerations
To ensure an uninterrupted viewing experience:
- Use dimmable recessed lighting or wall sconces to create a cinematic ambiance.
- Add LED strip lighting along steps or furniture to improve visibility without disturbing the movie.
Step 3: Choose the Right Seating Arrangement
Comfortable seating is the defining feature of a great home theater. You’ll want to think through not just comfort but also positioning to maintain an optimal viewing experience.
Seating Distance
The number of seats your home theater can accommodate depends on the room size and viewing distances. Ensure every row of seating has an unobstructed view of the screen.
- Single-row setups: A single row with reclining theater seats works well for smaller rooms. Give each seat at least 2-2.5 feet of space.
- Multi-row setups: If you’re using multiple seating rows in larger rooms, elevate the back rows with risers (about 6-12 inches higher per row) to avoid obstructing the view.
Types of Seating
- Recliners: Provide maximum comfort with built-in footrests and cushioned headrests.
- Loveseats and sofas: Perfect for shared spaces with family or friends.
- Row seating: Replicates the true cinema experience, often with cup holders and armrests.
Step 4: Bring Everything Together with Expert Installation
Planning size, layout, and seating is just the start of your home theater project. The final and arguably most important step is execution.
Professionals who specialize in home theater installation in Central Florida can make all the difference by:
- Analyzing your room to avoid common mistakes like poor speaker placement or awkward seating angles.
- Handling technical setup, from wiring and sound calibration to mounting your screen.
- Providing ongoing customer support in case of malfunctions or future upgrades.
Enhance Your Experience With Smart Additions
Once the basics are in place, consider elevating your home theater with these add-ons:
- Smart Home Integration: Control lighting, HVAC, and even seating adjustments through a central device like a smartphone or Alexa.
- Acoustic Treatment: Use panels and bass traps to improve sound clarity.
- Beverage Station: Add a mini fridge or snack bar to make your theater the ultimate entertainment haven.
Create the Home Theater of Your Dreams
Achieving the perfect home theater comes down to thoughtful planning and professional execution. By focusing on size, layout, and seating, you’re well on your way to creating a space that delivers endless entertainment and joy.
Need help with home theater installation in Central Florida? Contact Axiom Integration today to get a free quote and turn your vision into reality. Your perfect movie night is only a call away!