How to Install Ceiling Speakers for a Seamless Audio Experience

Ceiling speakers have become increasingly popular for those looking to enjoy high-quality sound without compromising on interior design. Whether you're setting up distributed audio and video systems in your home or office in Central Florida, installing ceiling speakers can transform your listening experience. But where do you start? This guide will walk you through the steps to install ceiling speakers and help you create a professional-grade system that blends perfectly with your space.
Why Choose Ceiling Speakers?
Before we get into the how-tos, it’s worth understanding why ceiling speakers are such a game-changer.
- Space-Saving Design
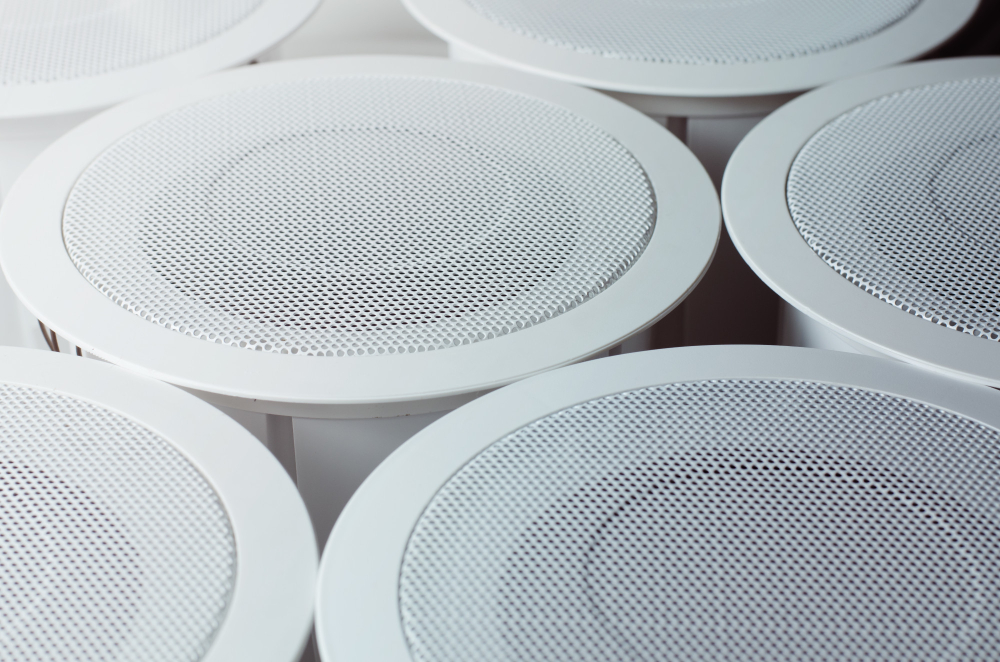
Ceiling speakers free up valuable floor and wall space, giving you a sleek, minimalistic look. They completely integrate with the room, ensuring your audio system remains out of sight but not out of mind.
- Even Sound Distribution
When incorporated into distributed audio and video systems, ceiling speakers excel at providing consistent sound across different rooms and areas. This makes them perfect for homes, offices, or commercial sites in Central Florida.
- Customizable and Aesthetic
Many ceiling speakers come with paintable grilles, allowing you to blend them into your ceiling or match your interior's color scheme.
If these benefits have sparked your interest, read on for a step-by-step guide to setting them up.
Tools and Materials You’ll Need
Before you get started, gather the following tools and materials to make the installation process smoother:
- Ceiling speakers (choose models that suit your needs)
- Stud finder
- Drywall saw
- Speaker wires (make sure they’re high-quality and suitable for in-wall use)
- Wire strippers
- Drill and drill bits
- Speaker template (usually included with the speakers)
- Amplifier or receiver
- Fish tape (for routing wires)
Once you have your supplies ready, you’re set to move on to the setup process.
Step-by-Step Guide to Installing Ceiling Speakers
1. Plan Your Speaker Placement
First, determine where you want your speakers to go. The placement should align with your specific audio needs. For homes or businesses incorporating distributed audio and video systems, ensure the speakers are strategically positioned for balanced sound distribution.
Tip: Avoid placing speakers near vents, light fixtures, or other obstacles that could interfere with the sound or installation process.
2. Map Out the Wiring
For a seamless look, run the wires through the walls and ceiling. If wiring seems intimidating, consider reaching out to professionals specializing in distributed audio systems in Central Florida to ensure a clean and safe setup.
3. Mark and Cut
Use the speaker template to mark the spots on the ceiling. Check for studs using a stud finder to ensure there’s no obstruction where you plan to cut.
Carefully cut along the marked template using a drywall saw. Always cut smaller than needed to avoid mistakes; you can adjust the size later if required.
4. Run the Wires
This step might take some effort, especially if you’re a first-timer. Use fish tape to guide the wires through the walls and ceiling spaces. If your system is part of a whole-home distributed audio system, this step is crucial for ensuring every room is connected.
A good rule of thumb is to run cables back to a central hub or receiver. Keeping everything centralized makes managing your audio system far easier in the long run.
5. Connect the Speakers
Strip about half an inch of insulation off the speaker wires using wire strippers. Connect the wires to the terminals on the speakers, matched as per the instructions. Most modern speakers have clear labels for positive (red) and negative (black) terminals.
6. Install the Speakers
Gently insert the speaker into the pre-cut hole. Most ceiling speakers use clamps that secure them in place when you tighten the screws. Once the speakers are installed, attach the grille for a clean, finished appearance.
7. Test the System
This is the exciting part! Connect the wires to your amplifier or receiver and test your audio system. Adjust the settings on the receiver and fine-tune speaker placement to optimize sound quality.
Common Mistakes to Avoid
- Skipping the Planning Phase
Poor planning can result in uneven sound distribution or conflicts with existing ceiling structures.
- Using Inferior Cables
Low-quality cables can degrade sound performance over time. Invest in high-quality, in-wall rated wires.
- Overlooking Professional Help
DIY is great, but if you’re setting up a complex distributed audio system in Central Florida, don’t hesitate to consult experts.
Why Work With Professionals?
While DIY ceiling speaker installation is possible, professional installation has its advantages, especially for distributed audio and video systems. Audio specialists in Central Florida, like Axiom Integration, can help you design, install, and optimize an entire audio system tailored to your needs.
With years of expertise, they ensure your setup is not just functional but also aesthetically pleasing, taking the hassle and guesswork out of the process.
Enhance Your Space With Distributed Audio Systems
Installing ceiling speakers is a fantastic way to elevate your audio experience, whether you’re at home or in an office. With their sleek design and ability to provide evenly distributed sound, ceiling speakers are a worthwhile investment for any space.
If you’re in Central Florida and ready to take the plunge, why not pair it with a professional-grade distributed audio and video system? Contact Axiom Integration today to get a quote and take the guesswork out of audio excellence.